

The SynFutures V3 testnet is now available to the public! To access and begin trading with mock assets, please follow these steps.
Enter SynFutures
Once you enter the testnet via the site link (trade.synfutures.com), you will be asked for an acknowledgment about your location. Read it and click enter if you meet the criteria.

The site is divided into three sections: Trade, Earn, and Portfolio.
- The Trade section covers placing and managing trades.
- The Earn section covers liquidity provision.
- The Portfolio section gives a quick overview of users’ assets and trades.
Connect Your Wallet
To connect your wallet:
- Click the ‘Connect Wallet’ button on the top right corner of the page.
- Choose the wallet of your choice.
- Enter the password when prompted.
- Click ‘Unlock’ and click ‘Connect.’
Mint Mock USDC
Once you’ve connected your wallet, mint mock USDC so that you can begin trading:
- Click the ‘Mint’ icon on the top-right corner of the page.
- Right next to USDC, click ‘Mint.’
- Confirm the transaction on your wallet.
- Do note that if you’re interacting with SynFutures for the first time, you’ll be asked to approve the token. You only need to do it once.
- Once the transaction gets confirmed, you’ll receive 10,000 mUSDC in your wallet.
Make a Deposit
To trade on SynFutures v3, you must deposit the margin amount from your wallet:
- Go to the ‘Portfolio’ section at the top of the page.
- Under ‘Asset’, click ‘Deposit.’
- This will open a new dialog box. Choose the amount of USDC you want to deposit by entering the amount manually or selecting the 25%, 50%, 75%, or 100% option.
- Click ‘Approve USDC and Continue’.
- On the wallet, approve the maximum USDC limit; click ‘Next’ and ‘Approve.’.
- Wait for the transaction to be confirmed.
- Once the transaction is confirmed, the dialog box will change from ‘Approve USDC and Continue’ to ‘Deposit’. Click the ‘Deposit’ button and confirm the transaction in the wallet.
- Once the transaction is confirmed, you’ll see the portfolio section updated to reflect your new balance.
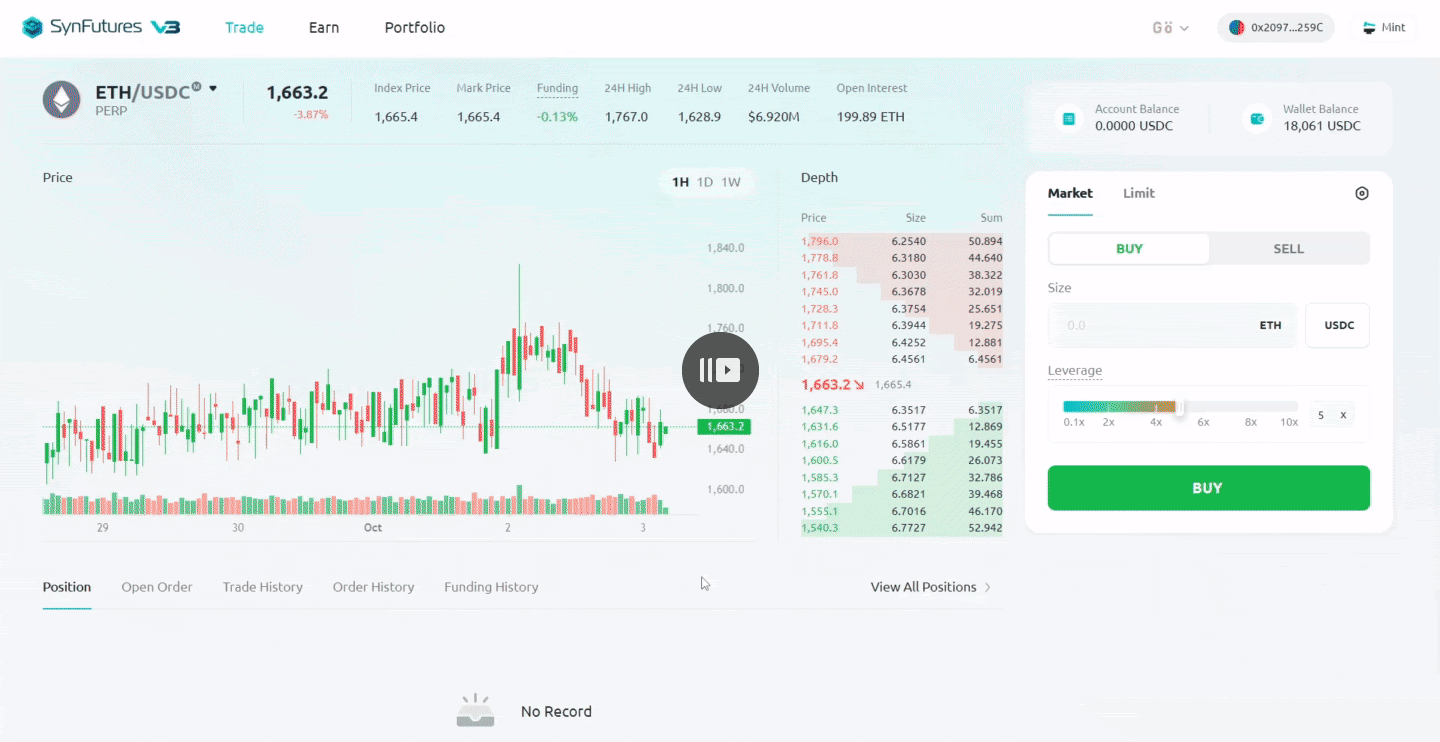
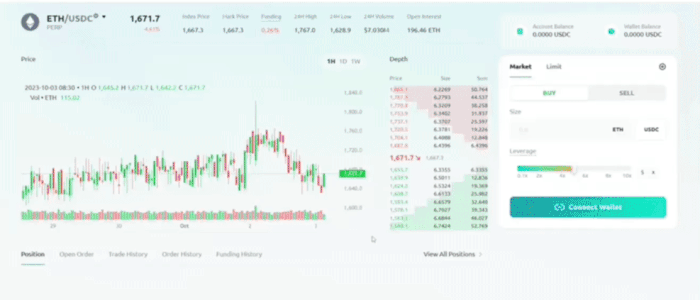
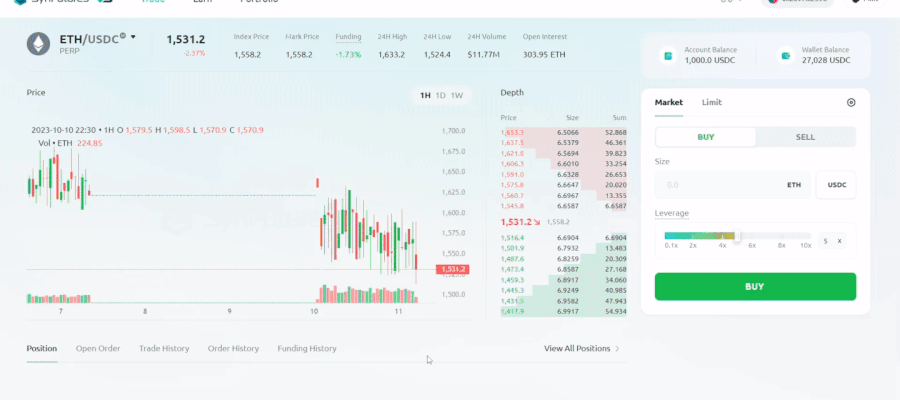
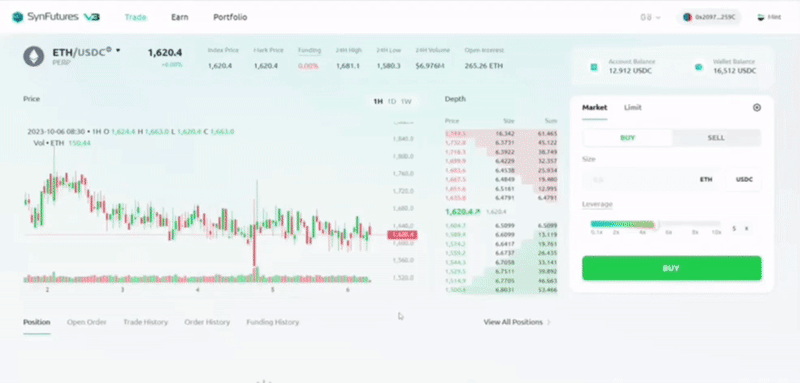
Enter a Trade
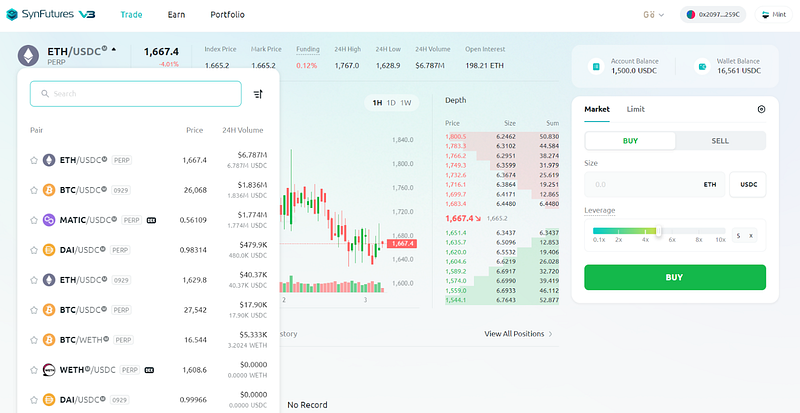
After making the deposit, go back to the Trade section. You’ll notice a trading pair mentioned prominently right below the SynFutures logo. Click on it to see all the available trading pair options. The dropdown box will show the different pairs available, the expiry date or ‘PERP’ in case of perpetual futures, the current price, and the 24H trading volume.
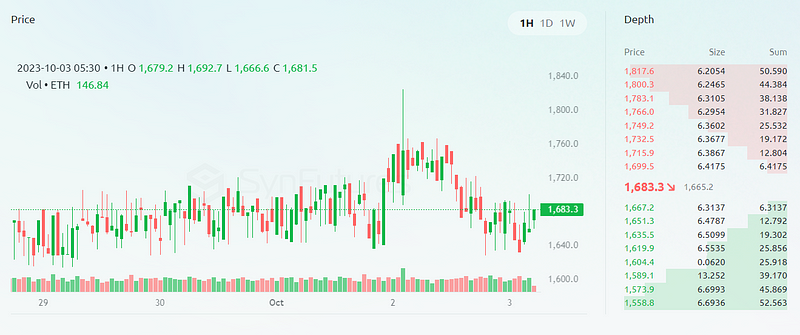
Look at the Chart and Market Depth
The main section of the page is divided into two parts: the chart section and the depth section. Charts allow users to see the recent price action on hourly, daily, and weekly candles. You can also zoom in and out of the charts by using the mouse wheel. Next to it is the depth section, showing this pair’s current liquidity depth. ‘Sum’ shows the total liquidity that can be filled till a certain price. SynFutures v3 uses a revolutionary Oyster AMM mechanism that combines both the order book and AMM model to provide users with the best of both worlds.
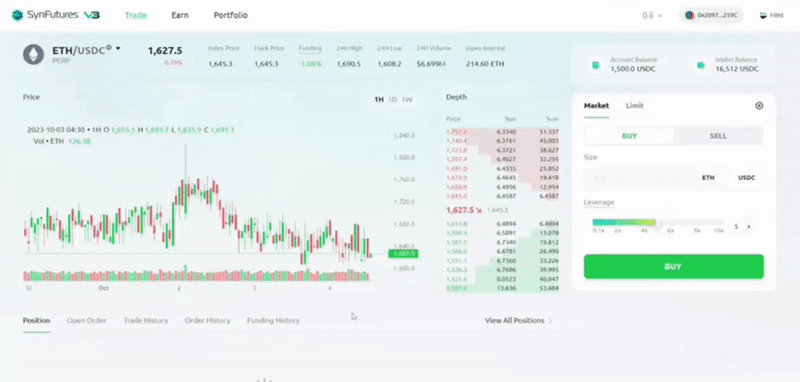
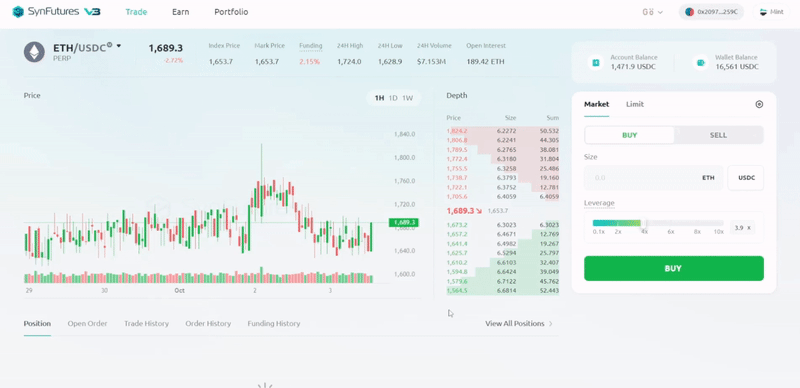
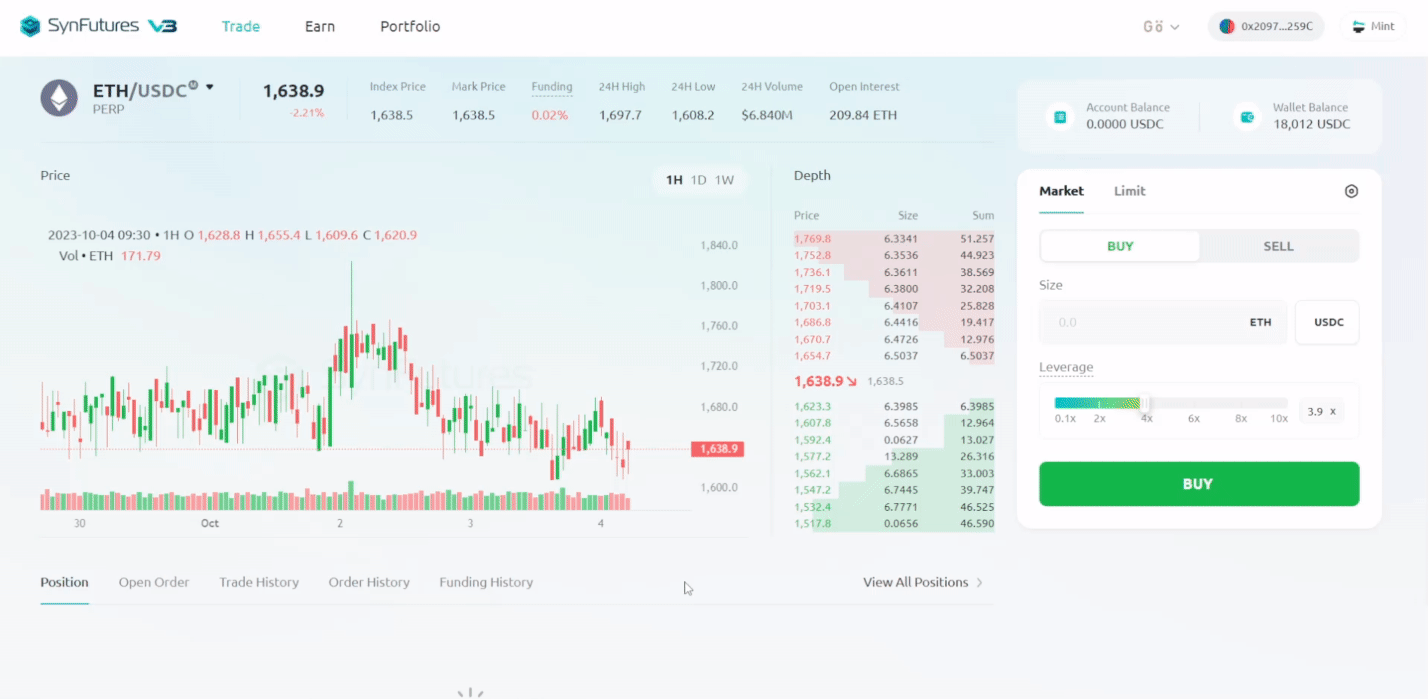
Place a Market Order
On the right side of the page is the trading section where users can place either a market order or a limit order. This section is set to market by default. To place a market order, a user needs to
- Choose whether to buy or sell.
- Select the amount for trade. It can be denominated in the asset you are trading or USDC.
- Choose the required leverage.
- Once completed, check the following details: Margin required, limit price, estimated trade value, price impact, and trading fee.
- After you have verified the details, click the ‘Buy’ or ‘Sell’ option and approve it in the wallet.
- Once the transaction is confirmed, the trade will appear as an open position, which you can monitor by scrolling down.
Place a Limit Order
The limit order process is the same as the market order with one extra step. The user needs to enter the limit price in USDC before placing the order. The order will only get executed if the market reaches the limit price.
- Click the ‘Limit’ tab.
- Choose whether to buy or sell.
- Select the amount for trade.
- Enter the limit price in USDC.
- Choose the required leverage.
- Click the ‘Buy’ or ‘Sell’ option and approve it in the wallet.
- An order that has been placed but not filled can be found under the ‘Open Order’ section.
Choose the Advanced Option
SynFutures gives users complete control over their trades by providing advanced options like Slippage Control and a time deadline before order expiry. These options can be accessed by
- Click on the setting icon right above the ‘Buy’ and ‘Sell’ tab.
- Choose the desired slippage limit.
- Choose the desired time limit after which the order will automatically expire.
- Click ‘Confirm.’
Close a Trade
All the currently active positions can be seen in the position section. SynFutures has made it really simple to close an open position. A trader must find the open position, click ‘Close,’ and confirm it in the wallet. The position will close at the current market price, and the remaining margin will be added to the available balance.

Add Liquidity
SynFutures allows LPs to provide liquidity on any token with just USDC. With our new Oyster AMM model, we have refined the process to make it even more capital-efficient. Now, LPs can even choose the range within which they provide liquidity. A liquidity provider’s earnings will be determined by the range he/she chooses.
- Click ‘Earn’ at the top of the page to go to the LP sections.
- Under ‘Add Liquidity’, select the number of USDC that you want to contribute.
- Select the price range using the slider. Moving the slider left decreases the range and the right increases it.
- On the far left, the range is small. It provides high capital efficiency and a high APY rate but also increases the chance of liquidation which would convert your LP into a trading position.
- At the extreme right, the range is large. The chances of getting liquidated are small, but the APY rate is also low.
- Choose the position that you’re comfortable with and click ‘Confirm.’
- Confirm the transaction on your wallet.
- You can see the new position under the ‘Liquidity’ section, which shows the total value locked, fees earned, and the liquidation price.

Remove Liquidity
Removing liquidity is a two-step process. First, close the liquidity position from the Earn section. This will convert some of your liquidity into a trading position. Second, close the trading position.
- Go to the Liquidity section.
- Click Remove on the position that you want to exit.
- Click ‘Confirm.
- Confirm the transaction on the wallet.
- Once that’s done, your liquidity gets converted into a trading position.
- Click the ‘Manage’ position button, which will take you to the trading section.
- You’ll see a new trading position created by SynFutures.
- Click ‘Close’ on the transaction and confirm on your wallet.
- That’s it. Your liquidity position is now closed and the amount will reflect on your account balance.
Withdraw Account Balance
Withdrawing the margin amount is just as easy as a few clicks. There is no lock-in period and no large withdrawal fee. All you need to do is
- Go to the Portfolio section.
- Click ‘Withdraw.’
- Choose the amount to withdraw.
- Click the ‘Withdraw’ button on the dialog box.
- Confirm the transaction on the wallet.
After a few seconds, your transaction will get confirmed and the amount withdrawn to your wallet.

About SynFutures
SynFutures is a leading perp DEX that creates an open and trustless derivatives market by enabling trading on anything with a price feed anytime. SynFutures democratizes the derivatives market by employing an Amazon-like business model, giving users the tools to freely trade any assets and list arbitrary futures contracts within seconds.
Deployed on multiple blockchains, SynFutures is currently the largest derivatives exchange on Polygon and is among the top three most actively used decentralized derivatives exchanges. Backers include Tier 1 Web3 institutional investors Pantera Capital, Polychain Capital, Susquehanna International Group (SIG), Dragonfly Capital, Standard Crypto, and Framework Ventures, and team members have extensive experience at global financial institutions, fintech companies and blockchain technology companies such as Alipay, Bitmain, Credit Suisse, Deutsche Bank, Matrixport, and Nomura Securities.
Learn more: